WiFi 智能插座
来自Jack's Lab
(版本间的差异)
(→Reference) |
(→Reference) |
||
| 第89行: | 第89行: | ||
== Reference == | == Reference == | ||
| + | * miniK: http://bbs.mydigit.cn/read.php?tid=1327613 | ||
* 云合:http://bbs.mydigit.cn/read.php?tid=1449956 | * 云合:http://bbs.mydigit.cn/read.php?tid=1449956 | ||
* ORVIBO: http://bbs.mydigit.cn/read.php?tid=1320858 | * ORVIBO: http://bbs.mydigit.cn/read.php?tid=1320858 | ||
2015年12月21日 (一) 09:27的版本
目录 |
1 Quick Start
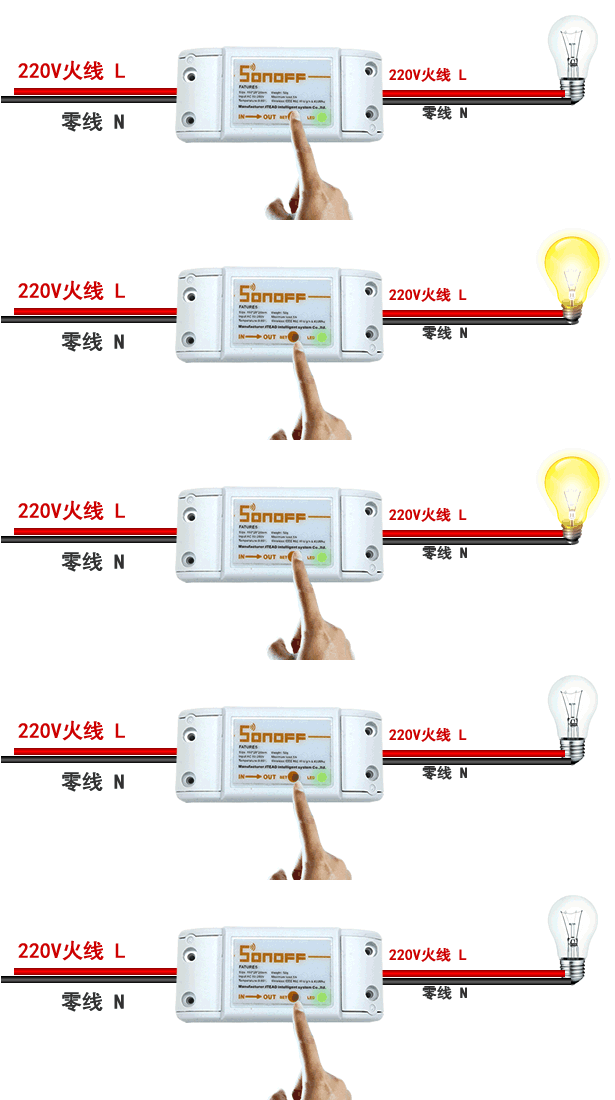
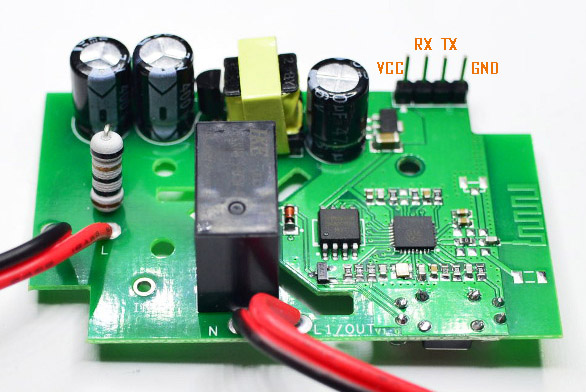
1.1 准备一片通用模块
https://item.taobao.com/item.htm?id=522098524264
1.2 准备 SDK
# clone the whole sdk
$ git clone --recursive git://github.com/icamgo/noduino-sdk.git noduino-sdk
$ cd noduino-sdk/toolchain
$ ./gen.py
# generate the toolchain (you need Python 2.7)
更多参考:
- Getting Started with Noduino SDK on Linux
- Getting Started with Noduino SDK on Mac OS X
- Getting Started with Noduino SDK on Windows
1.3 刷写固件
进入插座参考设计,编译固件:
$ cd ../sketch/plug
$ make
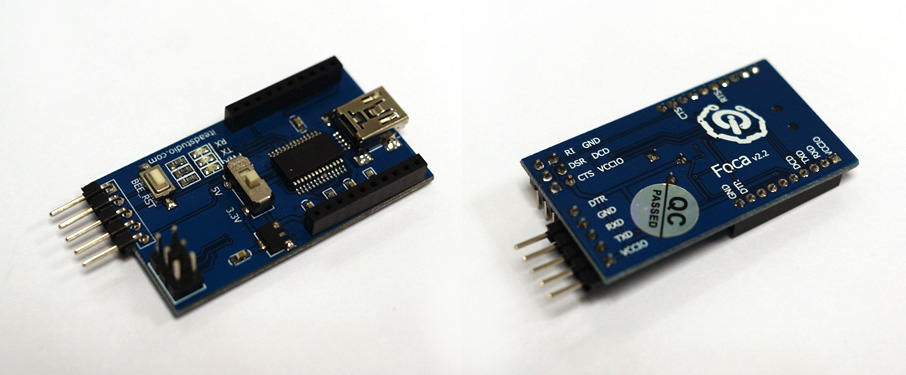
准备一个 USB 转串口板,此处我们使用一个 FT232RL USB 转串口板
用杜邦线把模块引脚按如下规则连上 USB 串口模块和通用插座模块:
- USB_VCCIO ---> VCC
- USB_RXD ---> TX
- USB_TXD ---> RX
- USB_GND ---> GND
长按住背面的小按钮开关、通电即进入刷机模式,然后确认一下你的USB转串口的串口设备号,如 Windows 下为 COM6,则:
$ make flash ESPPORT=COM6
1.4 控制演示
上传完之后,打开微信,扫一扫如下二维码,关注公众号:
进入公众号后,点下方菜单: 探索 ---> 添加设备:
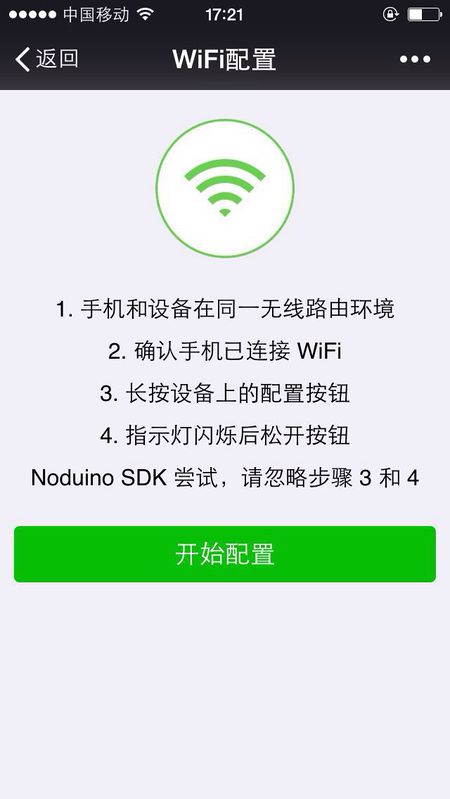
点 ”开始配置“ 后:
然后,进入公众号菜单的“探索”--》我的设备 --》插座 即可控制
2 Reference
- miniK: http://bbs.mydigit.cn/read.php?tid=1327613
- 云合:http://bbs.mydigit.cn/read.php?tid=1449956
- ORVIBO: http://bbs.mydigit.cn/read.php?tid=1320858
- 海尔: http://bbs.mydigit.cn/read.php?tid=1098323
- D-Link: http://bbs.mydigit.cn/read.php?tid=865037
- 插排:http://bbs.mydigit.cn/read.php?tid=1291309


