Noduino OpenOnoff
来自Jack's Lab
(版本间的差异)
(→Prepare firmware) |
(→Prepare firmware) |
||
| 第54行: | 第54行: | ||
The generated firmware is located in build/ dir named user1.bin annnd user2.bin | The generated firmware is located in build/ dir named user1.bin annnd user2.bin | ||
| + | |||
| + | |||
| + | Window environment please refer to [[Getting Started with Noduino SDK on Windows]], you can get how to setup the basic developmennt environment | ||
<br><br> | <br><br> | ||
2016年10月25日 (二) 00:57的版本
目录 |
1 Overview
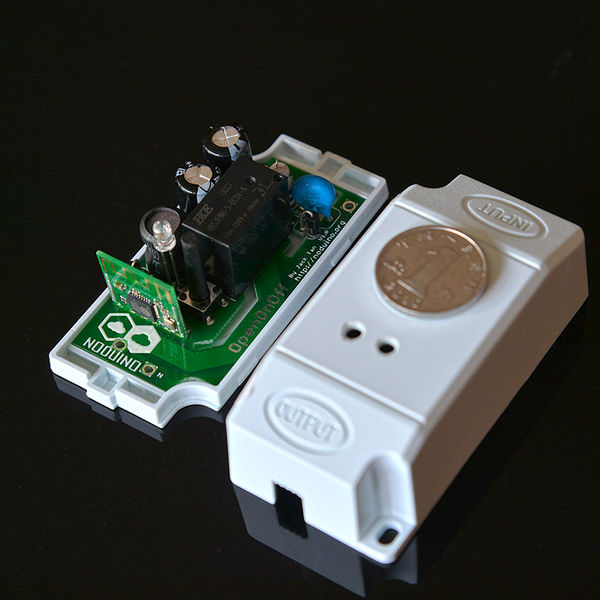
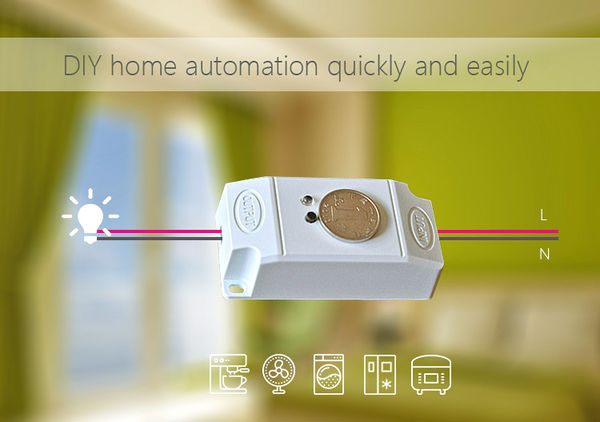
- AC 85V - 250V General Power Switch
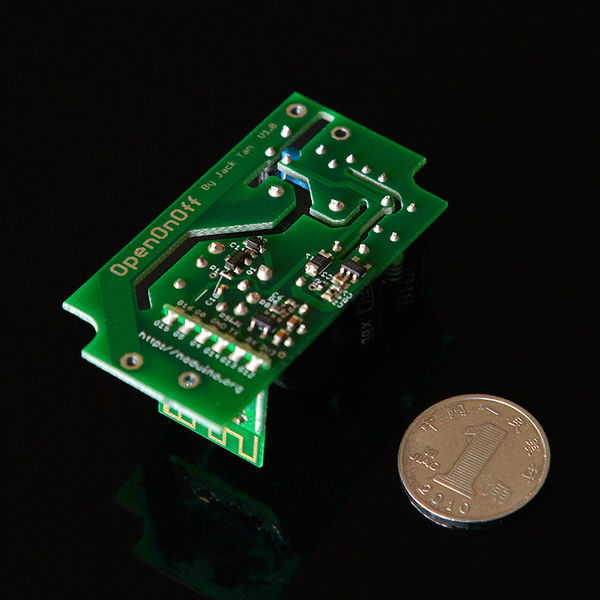
- ESP8285 inside
- 250V 10A relay
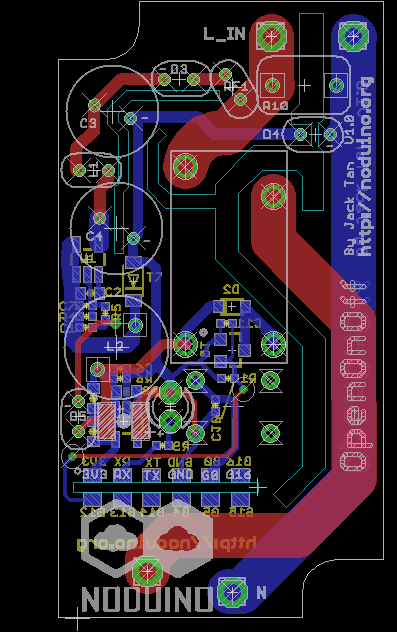
- Mainboard size 53mm x 28mm x 17.8mm(H)
- Shell size 63mm x 33mm x 21mm(H)
2 Quick Start
3 Open API
4 Hacking
4.1 Prepare firmware
Get noduino-sdk:
$ git clone --recursive git://github.com/icamgo/noduino-sdk.git noduino-sdk
Generate toolchain (you need Python 2.7):
$ cd noduino-sdk/toolchain
$ ./gen.py
Compile the firmware:
$ cd ../sketch/open-onoff
$ make
The generated firmware is located in build/ dir named user1.bin annnd user2.bin
Window environment please refer to Getting Started with Noduino SDK on Windows, you can get how to setup the basic developmennt environment
4.2 Upload
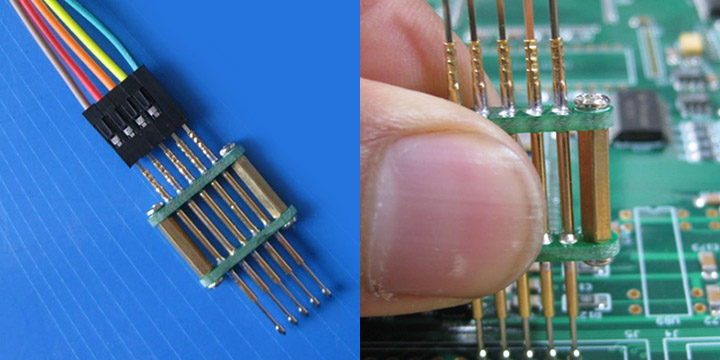
4.2.1 Serial
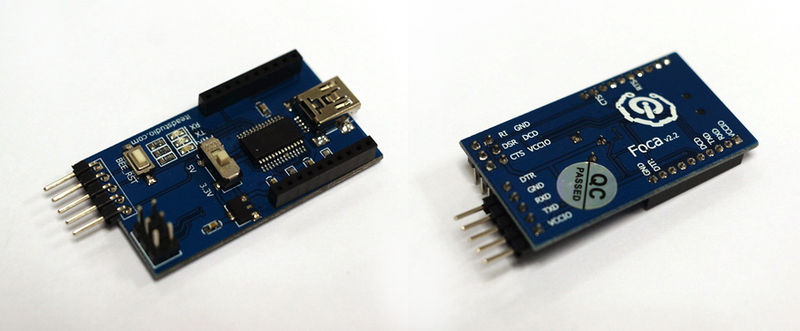
- USB2UART_GND ------> SmartNode_GPIO0
- USB2UAR_GND -----> SmartNode_GND
- USB2UAR_RXD -----> SmartNode_TX
- USB2UAR_TXD -----> SmartNode_RX
Connect USB2UAR_VCC3.3 -----> SmartNode_VCC at last
ESP8285 will be enter upload mode, we can upload the compiled firmware through serial using following commands:
$ cd /path/to/noduino-sdk/sketch/open-onoff
$ make produce ESPPORT=/dev/ttyUSB1
4.2.2 Online
5 Hardware
