Noduino OpenOnoff
(→Quick Start) |
(→Quick Start) |
||
| 第26行: | 第26行: | ||
* 断电情形下,把控制器接入电路: | * 断电情形下,把控制器接入电路: | ||
| + | Power off, put the controller join circuit. | ||
| + | |||
* OUTPUT 端接灯具 (或者其他 1KW 以下电器) | * OUTPUT 端接灯具 (或者其他 1KW 以下电器) | ||
| + | Link OUTPUT port to the lamp or other electrical appliances under 1KW. | ||
| + | |||
* 检查连接可靠,因为涉及 220V,最好用家用绝缘胶带把连接点加固 | * 检查连接可靠,因为涉及 220V,最好用家用绝缘胶带把连接点加固 | ||
| + | Check the connection since it's 220V. It would be best to reinforce the connection points with home insulation tape. | ||
| + | |||
* INPUT 端接市电(小心操作,建议先将家里总闸断电) | * INPUT 端接市电(小心操作,建议先将家里总闸断电) | ||
| + | Link INPUT port to the electric supply. ( Be Careful, suggest to off the home main breaker) | ||
| + | |||
* 通电后,指示灯会 1 秒左右慢闪,表示控制器在等待配网(如果不在慢闪,长按按钮 10 秒) | * 通电后,指示灯会 1 秒左右慢闪,表示控制器在等待配网(如果不在慢闪,长按按钮 10 秒) | ||
| − | * 手机连接 WiFi | + | Power on, controller will be waiting for network connection with indicator light flash slowly. ( If there is no flash, please press the button for 10sec) |
| + | |||
| + | * 手机连接 WiFi 路由,微信扫描二维码,"配置设备上网" | ||
| + | Mobile connect to WiFi, scan the QR code in WeChat to connect network. | ||
| + | |||
* 按提示输入 WiFi 密码,点 “连接”,等待配网完成(注意,设备不支持 5G WiFi,只支持 2.4G;另外企业级安全认证也不支持) | * 按提示输入 WiFi 密码,点 “连接”,等待配网完成(注意,设备不支持 5G WiFi,只支持 2.4G;另外企业级安全认证也不支持) | ||
| + | Enter WiFi password, waiting for network connection. (P.S. only 2.4G WiFi is applicable, 5G WiFi and Enterprise - level security certifications are not supportable.) | ||
| + | |||
* WiFi 配置完成后,微信自动进入局域网发现设备模式,其会列出设备列表 | * WiFi 配置完成后,微信自动进入局域网发现设备模式,其会列出设备列表 | ||
| + | Finish WiFi configuration, WeChat will be in LAN devices matching mode with devices list visible. | ||
| + | |||
* 点击第一个设备,进入页面,在页面最下面会有 “绑定设备” 按钮 (如果已经绑定过改设备,最下面的按钮为“进入公众号”),点击按钮,完成设备绑定 | * 点击第一个设备,进入页面,在页面最下面会有 “绑定设备” 按钮 (如果已经绑定过改设备,最下面的按钮为“进入公众号”),点击按钮,完成设备绑定 | ||
| − | + | Click the first device then press "Device Binding" button to bind the device. (P.S. if the device has been binding, then the button at bottom is "Enter Official Account" | |
| − | + | ||
| + | * 完成后,点“进入公众号”,在公众号菜单的 “智能设备”,即可列出你绑定的所有设备,点一个设备,即可进入设备控制页 | ||
| + | Finish above steps, please press "Enter Official Account" button then click "smart device" button to find your binding devices list. Click the device to enter control page. | ||
| + | |||
其他人需要控制设备,需要先连接到同样的路由器,在设备通电的情形下,扫描同样的二维码,点“设备已联网,跳过此步”,直接“发现”、“绑定设备” 即可在公众号菜单“智能设备里控制 | 其他人需要控制设备,需要先连接到同样的路由器,在设备通电的情形下,扫描同样的二维码,点“设备已联网,跳过此步”,直接“发现”、“绑定设备” 即可在公众号菜单“智能设备里控制 | ||
| − | + | If more people need to control the device, please connect to the same router and scan the same QR code while the device is power on. Click "Device connected and skip" -> "Link Device"->"Enter | |
| + | Official Account" to control smart devices | ||
;;其他说明: | ;;其他说明: | ||
| + | Note: | ||
* 短按按钮,手动开关控制器 | * 短按按钮,手动开关控制器 | ||
| + | Press the button momentarily, manual switch controller | ||
| + | |||
* 长按 10 秒按钮,恢复出厂设置 | * 长按 10 秒按钮,恢复出厂设置 | ||
| + | Press the button 10sec, restore the factory settings. | ||
<br><br> | <br><br> | ||
2016年10月25日 (二) 15:08的版本
目录 |
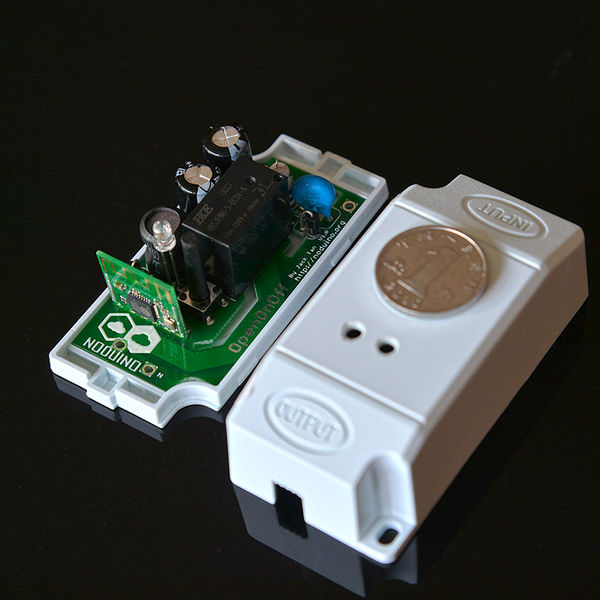
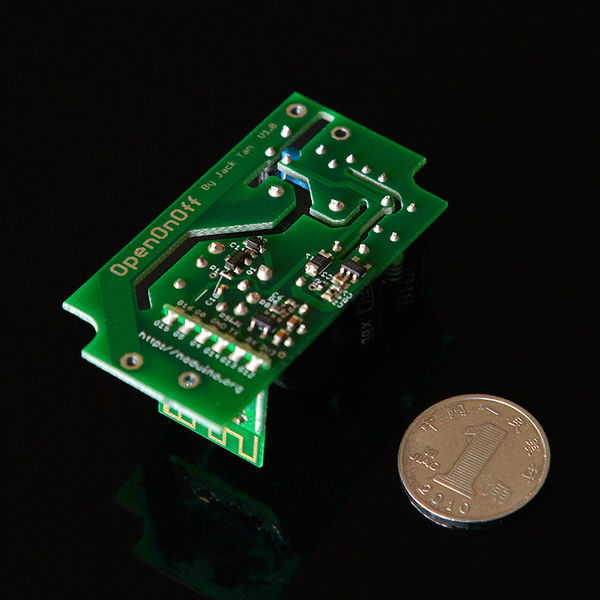
1 Overview
- AC 85V - 250V General Power Switch
- ESP8285 inside
- 250V 10A relay
- Mainboard size 53mm x 28mm x 17.8mm(H)
- Shell size 63mm x 33mm x 21mm(H)
2 Quick Start
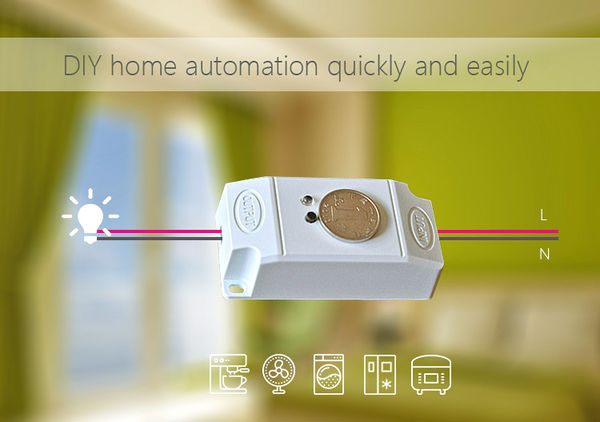
- 断电情形下,把控制器接入电路:
Power off, put the controller join circuit.
- OUTPUT 端接灯具 (或者其他 1KW 以下电器)
Link OUTPUT port to the lamp or other electrical appliances under 1KW.
- 检查连接可靠,因为涉及 220V,最好用家用绝缘胶带把连接点加固
Check the connection since it's 220V. It would be best to reinforce the connection points with home insulation tape.
- INPUT 端接市电(小心操作,建议先将家里总闸断电)
Link INPUT port to the electric supply. ( Be Careful, suggest to off the home main breaker)
- 通电后,指示灯会 1 秒左右慢闪,表示控制器在等待配网(如果不在慢闪,长按按钮 10 秒)
Power on, controller will be waiting for network connection with indicator light flash slowly. ( If there is no flash, please press the button for 10sec)
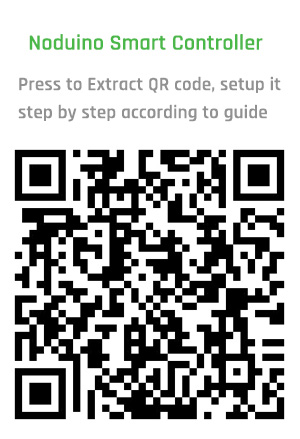
- 手机连接 WiFi 路由,微信扫描二维码,"配置设备上网"
Mobile connect to WiFi, scan the QR code in WeChat to connect network.
- 按提示输入 WiFi 密码,点 “连接”,等待配网完成(注意,设备不支持 5G WiFi,只支持 2.4G;另外企业级安全认证也不支持)
Enter WiFi password, waiting for network connection. (P.S. only 2.4G WiFi is applicable, 5G WiFi and Enterprise - level security certifications are not supportable.)
- WiFi 配置完成后,微信自动进入局域网发现设备模式,其会列出设备列表
Finish WiFi configuration, WeChat will be in LAN devices matching mode with devices list visible.
- 点击第一个设备,进入页面,在页面最下面会有 “绑定设备” 按钮 (如果已经绑定过改设备,最下面的按钮为“进入公众号”),点击按钮,完成设备绑定
Click the first device then press "Device Binding" button to bind the device. (P.S. if the device has been binding, then the button at bottom is "Enter Official Account"
- 完成后,点“进入公众号”,在公众号菜单的 “智能设备”,即可列出你绑定的所有设备,点一个设备,即可进入设备控制页
Finish above steps, please press "Enter Official Account" button then click "smart device" button to find your binding devices list. Click the device to enter control page.
其他人需要控制设备,需要先连接到同样的路由器,在设备通电的情形下,扫描同样的二维码,点“设备已联网,跳过此步”,直接“发现”、“绑定设备” 即可在公众号菜单“智能设备里控制
 If more people need to control the device, please connect to the same router and scan the same QR code while the device is power on.  Click "Device connected and skip" -> "Link Device"->"Enter
 Official Account" to control smart devices
- 其他说明:
Note:
- 短按按钮,手动开关控制器
Press the button momentarily, manual switch controller
- 长按 10 秒按钮,恢复出厂设置
Press the button 10sec, restore the factory settings.
3 Open API
4 Hacking
4.1 Prepare firmware
Get noduino-sdk:
$ git clone --recursive git://github.com/icamgo/noduino-sdk.git noduino-sdk
Generate toolchain (you need Python 2.7):
$ cd noduino-sdk/toolchain
$ ./gen.py
Compile the firmware:
$ cd ../sketch/open-onoff
$ make
The generated firmware is located in build/ dir named user1.bin annnd user2.bin
Window environment please refer to Getting Started with Noduino SDK on Windows, you can get how to setup the basic developmennt environment
4.2 Upload
4.2.1 Serial
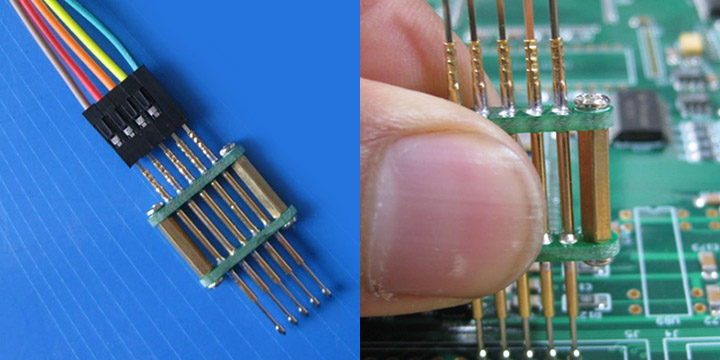
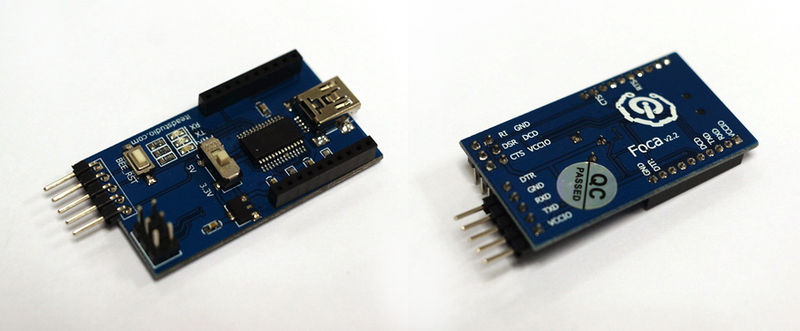
- USB2UART_GND ------> SmartNode_GPIO0
- USB2UAR_GND -----> SmartNode_GND
- USB2UAR_RXD -----> SmartNode_TX
- USB2UAR_TXD -----> SmartNode_RX
Connect USB2UAR_VCC3.3 -----> SmartNode_VCC at last
ESP8285 will be enter upload mode, we can upload the compiled firmware through serial using following commands in Linux:
$ cd /path/to/noduino-sdk/sketch/open-onoff
$ make produce ESPPORT=/dev/ttyUSB1
In windows:
$ make produce ESPPORT=COM7
COM7 is your USB2UART device
In MAC OS, maybe it's:
$ make produce ESPPORT=/dev/cu.SLAB_USBtoUART
/dev/cu.SLAB_USBtoUART is your USB2UART device
4.2.2 Online
- Login
- Username: noduino
- password: noduino1234
Click the "Add files", select the user1.bin and user2.bin located in /path/to/noduino-sdk/sketch/open-plug/build/
Then click "Start upload" to upload the user1.bin and user2.bin into the server temporaily
5 Hardware
