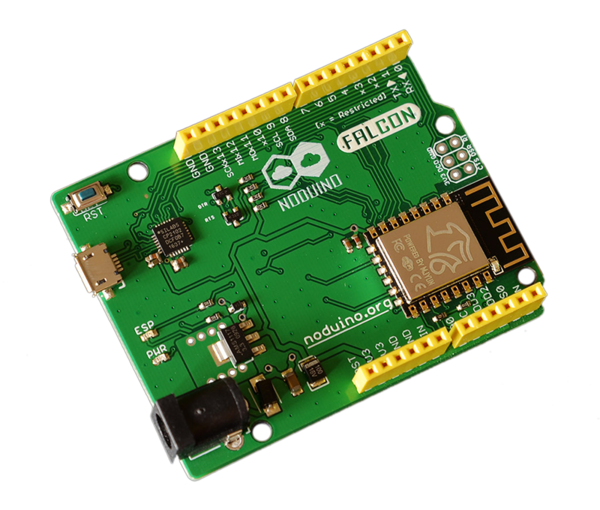
Noduino WiFi Scan
来自Jack's Lab
目录 |
1 开发环境准备
根据您的系统,选择如下快速指南:
- Getting Started with Noduino SDK on Linux
- Getting Started with Noduino SDK on Mac OS X
- Getting Started with Noduino SDK on Windows
2 Scan AP
尝试 wifi-scan 的例子,进入你的 noduino-sdk 目录:
$ cd /PATH/TO/noduino-sdk/examples/noduino/wifi-scan
编译、上传一步完成:
$ make flash
不同平台下,你的串口设备号可能不一样,确认一下你的串口设备,Linux 下 Falcon 开发板可能被识别为 /dev/ttyUSB1(dmesg 查看),则:
$ make flash ESPPORT=/dev/ttyUSB1
Windows 下 Falcon 开发板可能被识别为 COM6(控制面板 --> 设备管理器里查看),则:
$ make flash ESPPORT=COM6
3 查看
上传完之后,用串口工具,用 115200 的波特率打开串口,即可看到串口每隔 10s 输出其扫描到的 AP 列表:
Windows 下可用串口调试助手这类插看
Linux 下推荐使用 picocom:
$ sudo apt-get install picocom
$ picocom -b 115200 /dev/ttyUSB2
picocom v1.7

port is        : /dev/ttyUSB2
flowcontrol    : none
baudrate is    : 115200
parity is      : none
databits are   : 8
escape is      : C-a
local echo is  : no
noinit is      : no
noreset is     : no
nolock is      : no
send_cmd is    : sz -vv
receive_cmd is : rz -vv
imap is        :
omap is        :
emap is        : crcrlf,delbs,

Terminal ready

Welcom to Noduino!
WiFi AP SSID Scanning...
          gehua03111309180914085 (b8:55:10:12:b3:3d) rssi: -81 ch: 01 auth: 03 hidden: 0
                         xmy1997 (fc:d7:33:f2:47:0e) rssi: -82 ch: 01 auth: 04 hidden: 0
                          123456 (bc:14:ef:a0:6b:99) rssi: -86 ch: 01 auth: 03 hidden: 0
                             608 (08:bd:43:86:fa:a2) rssi: -87 ch: 04 auth: 03 hidden: 0
                    TP-LINK_CB78 (14:75:90:a4:cb:78) rssi: -91 ch: 06 auth: 04 hidden: 0
......
......
Ctrl + a q 退出 picocom
4 扩展阅读
- 更多问题参考:
