ESP32 Smartconfig
来自Jack's Lab
(版本间的差异)
(→Test Smartconfig) |
(→Test Smartconfig) |
||
| 第54行: | 第54行: | ||
Enter WiFi password then click "Connect" to complete WiFi connection. (NOTE, this network connection model only apply to 2.4G router) | Enter WiFi password then click "Connect" to complete WiFi connection. (NOTE, this network connection model only apply to 2.4G router) | ||
| + | |||
| + | |||
| + | The uart will output: | ||
| + | |||
| + | <source lang=bash> | ||
| + | $ | ||
<br><br> | <br><br> | ||
2016年11月15日 (二) 18:51的版本
目录 |
1 Overview
2 Quick Start
In Linux:
2.1 Install ESP-IDF
$ sudo apt-get install git wget make libncurses-dev flex bison gperf python python-serial
$ wget https://dl.espressif.com/dl/xtensa-esp32-elf-linux32-1.22.0-59.tar.gz
$ mkdir -p toolchain
$ tar zxf xtensa-esp32-elf-linux32-1.22.0-59.tar.gz -C toolchain
$ export PATH=$PATH:`pwd`/toolchain/xtensa-esp32-elf/bin
$
$ git clone --recursive git://github.com/icamgo/esp-idf.git
$ export IDF_PATH=`pwd`/esp-idf
2.2 Compile & Upload
$ cd esp-idf/examples/07_smartconfig
$ make menuconfig
$ make flash
2.3 Test Smartconfig
Make sure that your phone is connected to your WiFi router.
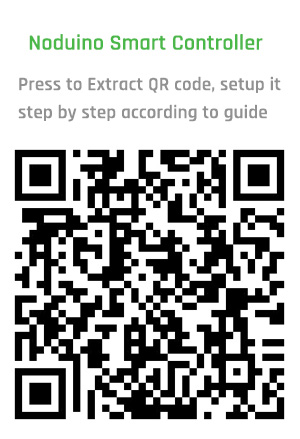
Scan the QR code in WeChat
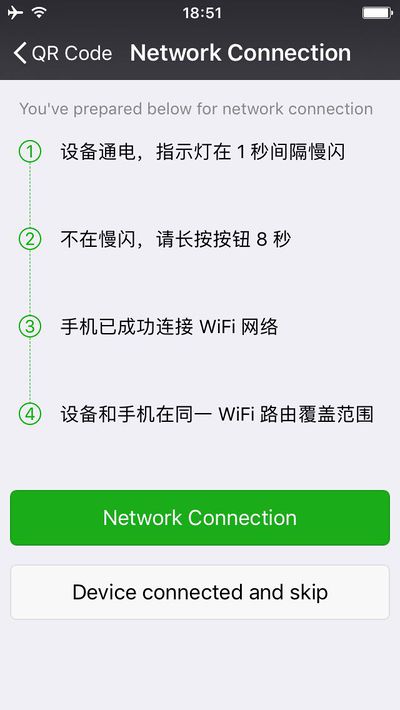
Coming to below page:
Click "Connecting Network" button:
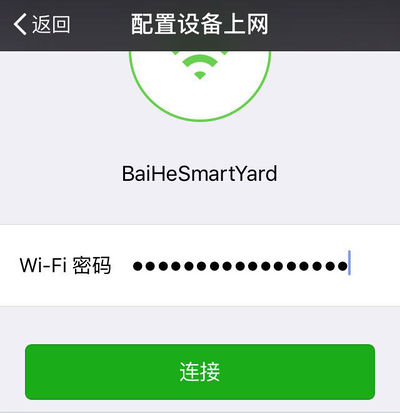
Enter WiFi password then click "Connect" to complete WiFi connection. (NOTE, this network connection model only apply to 2.4G router)
The uart will output:
$

<br><br>

== Reference ==

;;For more information please refer to:

* [[Noduino]]
* [[Noduino Quantum]]

<br><br>
<br><br>
<br><br>
<br><br>
<br><br>
<br><br>


